Everyone that has an email list wants one thing—more subscribers! 🎉 You can promote it on social media, email your long-time followers, or write a rockin’ post about it, but one of the most effective and permanent ways to promote your email list is by installing a signup form on your blog. This form will allow any of your readers to fill out their information and subscribe in seconds, and can be displayed anywhere on your site (mine is at the bottom of this post!).
MailChimp is my emailing service of choice (I’ll tell you why!), so this tutorial will be based on their forms specifically. If you’re using a different emailing service, you can still follow along and get the general idea of how the code works!
So First Off, Why MailChimp?
- It’s extremely easy to set up (it took me less than 30 minutes to sign up, create my forms, and start promoting my list!), so it’s a great option for newbie bloggers.
- MailChimp is totally FREE for up to 2,000 subscribers, and by the time you get to that number, you’re probably earning enough that the fee seems like nothing to you!
- Designing your newsletters is super simple with their drag and drop interface. No coding required!
Choosing The Location For Your Form
I’ve looked around my favorite blogs for some inspiration here and came up with 3 main locations for your signup form:
Above Your Content/Sidebar
If you just launched your newsletter or are offering a new content upgrade, this location will definitely catch your reader’s eyes! Be cautious about how you design a form here though, because it’s the most in-your-face of these options and you don’t want to distract your readers from the rest of your blog.
Within Your Sidebar
The least invasive of these options, your sidebar is like free advertising space for your own blog, and is a great location for a mini form! Depending on the width of your sidebar, you may even want to for-go the form altogether and just create a button that links to your form. I created a custom graphic for mine, and added a longer description about what’s included in my newsletter for those wondering!
![]()
Below Your Blog Posts
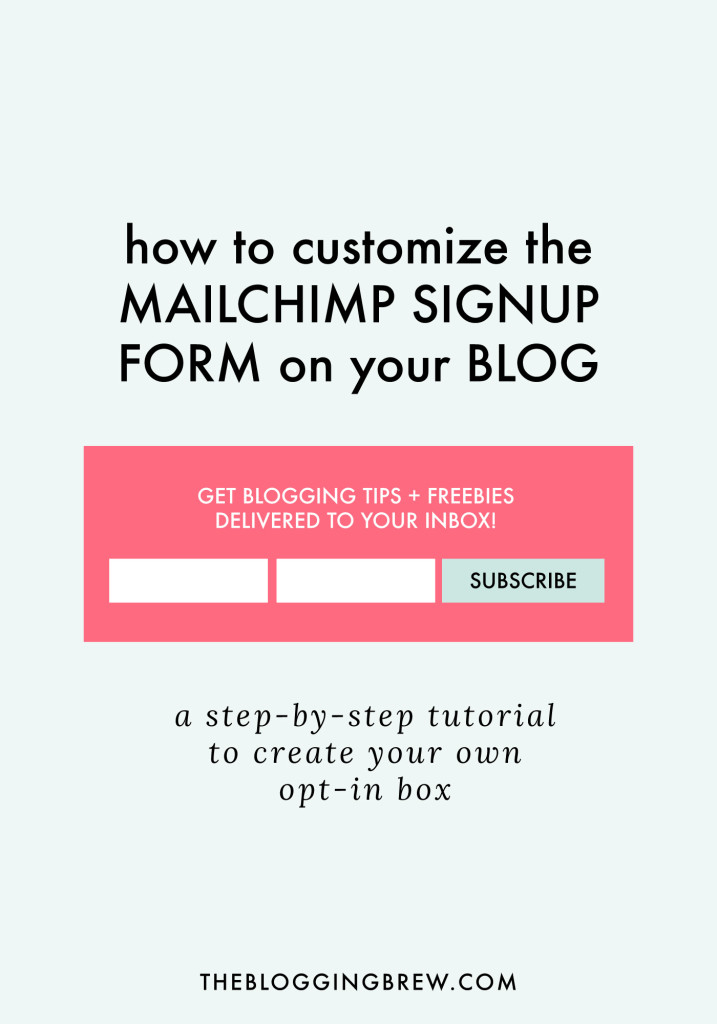
As long as your readers are finishing your posts (hopefully they are!), they’ll all pass by this location on the way to the comments. Much less invasive than the previous option, yet still obvious, this is my favorite location for a signup form. I added an extra line of info to mine so my readers know exactly what they’re getting when they sign up, and chose a vibrant color so it stands out against the comments and share buttons.
Creating Your Custom Signup Form
Step 1: Get your signup form code
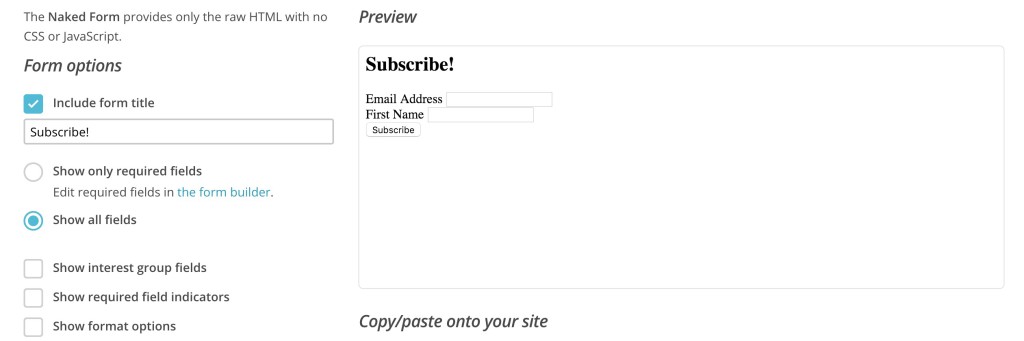
Open up MailChimp and head to Lists > Your Newsletter > Signup Forms > Embedded Forms and select the Naked form. This is the best option for customizing your form because you’re only given the HTML (there’s no CSS styling). I unchecked most of the options, but made sure that all the input fields I want are included!
Step 2: Place the code in a text widget, and make the following changes
Add a text (called HTML/JavaScript on Blogger) widget in whichever location you chose (you may have to create a new widget area for this, so if you don’t know how to do that, you might want to stick with a widget area that already exists!). Then, make these changes to the code:
Remove the labels
Get rid of any line that looks like this:
<label for="mce_EMAIL">Email Address</label>
This will remove the words above each of the input boxes. Don’t worry, we’ll add them in a different location next!
Edit the inputs
Everywhere you see input tags, add placeholder=”TITLE OF WHAT’S BEING INPUT”. They’ll look like this:
<input type="email" value="" name="EMAIL" class="required email" id="mce-EMAIL" placeholder="Email Address">
Add some CSS styling to your form
Your form probably looks pretty boring right now. To get things looking fancier, we’ll add some CSS styling to it. Copy and paste this code into your CSS file (for WP users, go to Appearance > Editor):
/* Changes the style of the overall form */
#mc_embed_signup {
	background: #f8f8f8;
	color: #000000;
	padding: 20px;
        text-align: center;
}

/* Styles the header text above the inputs */
#mc_embed_signup h2 {
	font-size: 18px;
	margin: 0 0 20px;
	color: #000000;
	text-align: center;
}

/* Adds extra space around the input boxes */
#mc_embed_signup .mc-field-group {
	padding: 10px 0;
}

/* Styles the input boxes */
#mc_embed_signup  input {
	width: 200px;
}

/* Styles the subscribe button */
#mc_embed_signup .button {
	background-color: #000000;
	color: #ffffff;
	margin: 0 auto;
}
After styling your form, it should look something like the example below. Yours might not look exactly like this because I do have some extra styling within my blog’s code that affects this! If some of your styles aren’t showing up, try adding !important after the specific line that’s affected, but before the semicolon. This could mean you have other styles within your code that’s taking priority over the new code.
It can be kind of difficult to get the exact style you’re going for, but mess around with the code a bit and see what you can create!
Bonus: Subscribe now and receive some super cute mail icons to use anywhere in your blog! You’ll also get instructions for installing them and linking to your subscription signup list. ☺️